Integrating VideoConferencing feature in Android using Zoom SDK
Here We shall integrate on an Zoom SDK in an Android Application,
Zoom as we all know that is an leading provider for hosting videoconferencing platform.It has got numerous feature including voice, video ,chat with private Room creation facility.
Step1.
We need to create an Free Account in Zoom Developer Portal as below

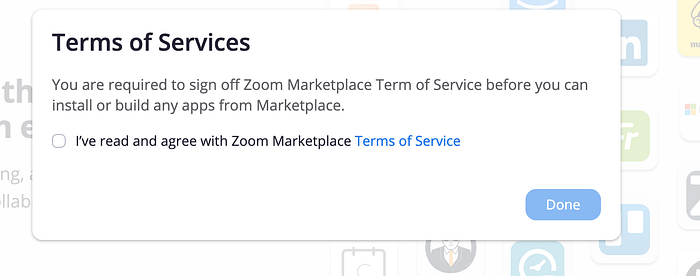
After Agreeing to the terms of Services

After Clicking on the Build Apps
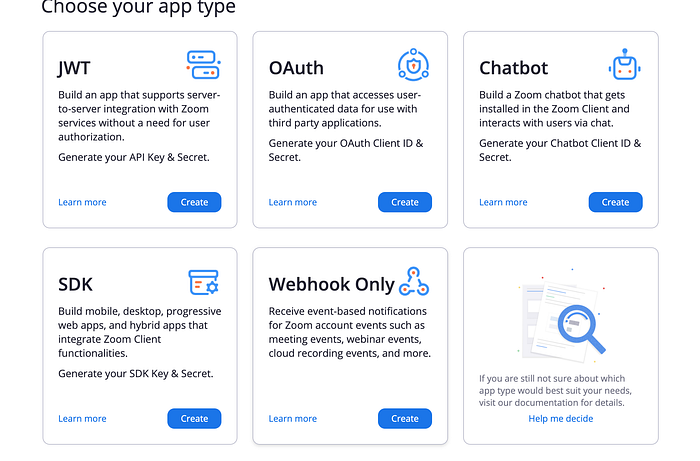
Above are following option available for building different types of Apps.Here As we are building for Android Hence we need to select SDK option, Click on Create button.
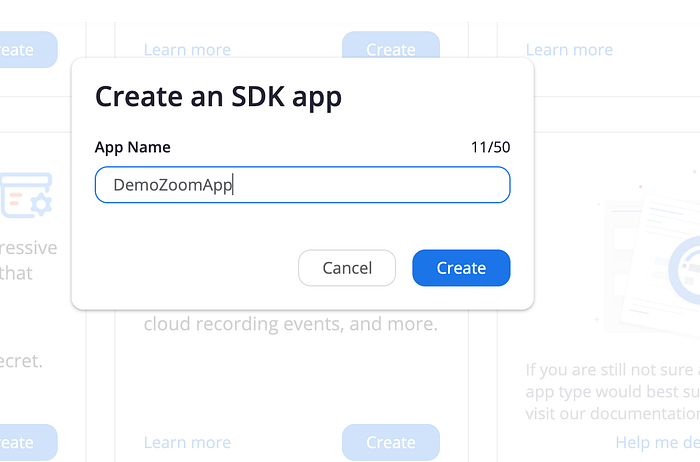
Enter you App Name as shown above.
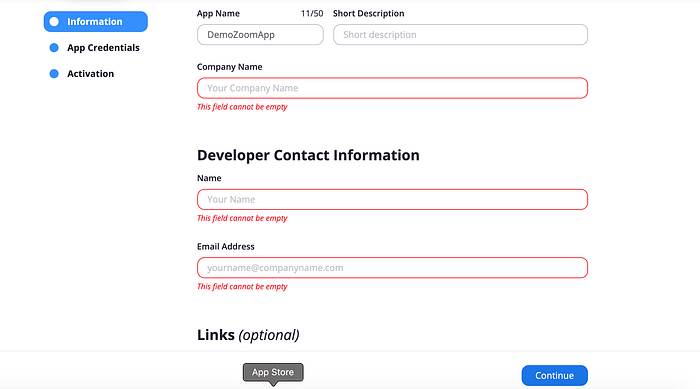
Please enter the default value in the mandatory fields and Click on the Continue Button.

Now SDK keys and Keys Secret will be created.Please copy these values to be used in the App.
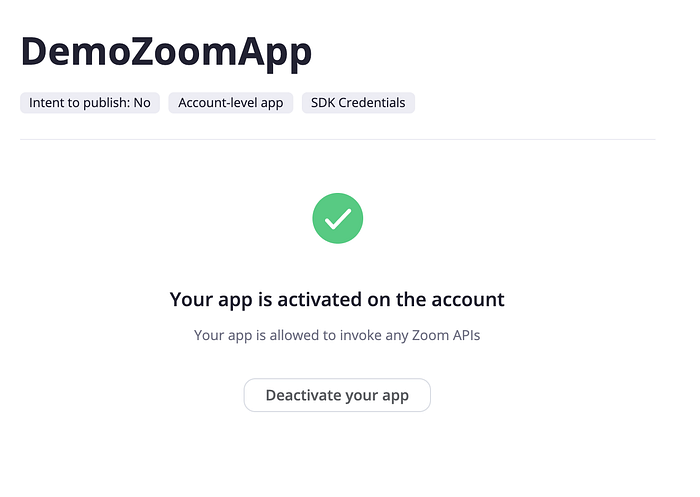
After clicking on the Continue button above message will be shown this means app has been created in their portal,Now We can use the SDK keys an SDK secret in our App while integrating the SDK in our App.
For Integration Now We first need to create and Demo Application in the Android Studio.
Step2.
Creating an Empty Project onAndroid Studio ver 3.6
Create an New Project
Choose Empty Activity as type
Enter Project Name,Package Name,Save Location
Choose language type as Java We can choose Kotlin also.
Choose Minimum SDK Selection as default(we can modify this later)
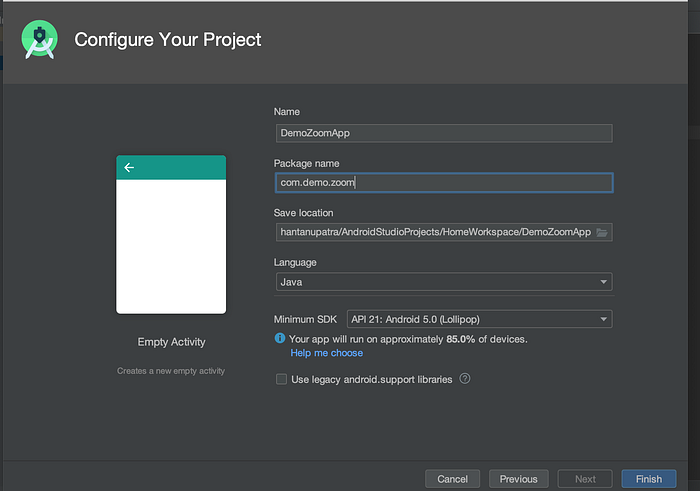
Now Click on the Finish Button.Now our initial Empty Android Project is been created.
Step 3.
Download the SDK from below link
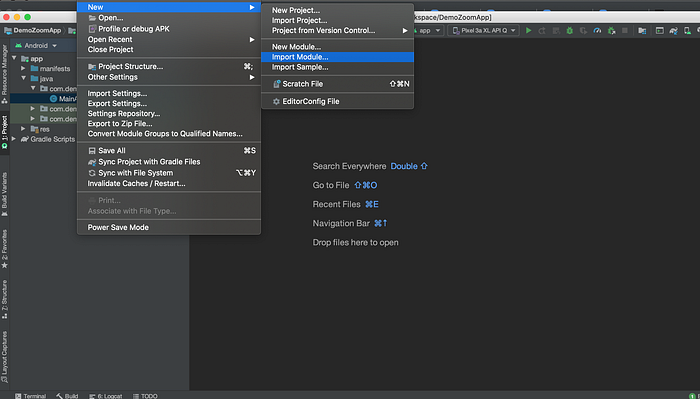
After downloading the SDK Click on the import module in Android Studio.
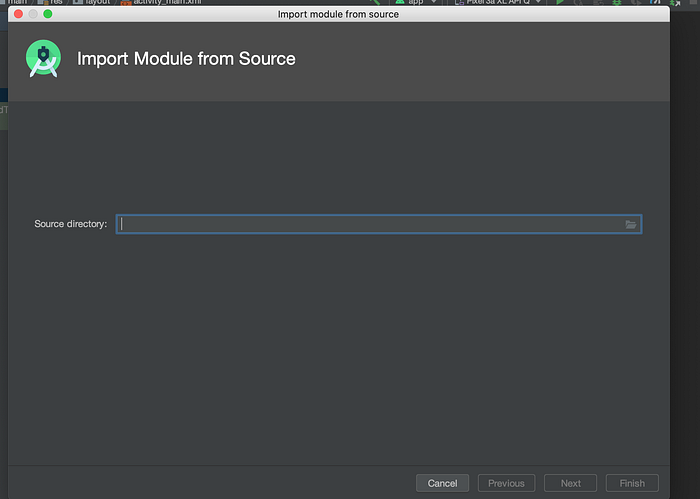
Clicks on the Folder icons select “commonlib”

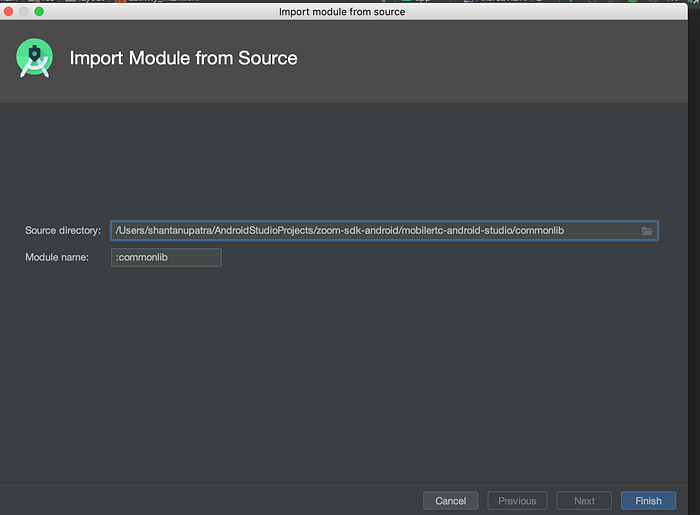
Click on Finish Button this module will be added in our project
Now Once again We need to do above steps for “mobilertc” module.
After We shall have both of this module will be shown as below in our project.

Now Add those two modules in the build gradle file as dependencies as shown below.

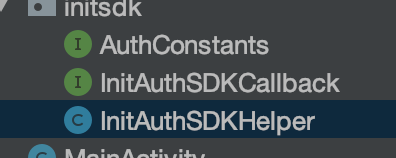
Then We need to copy the three files from samples AuthConstants.java,InitAuthSDKCallback.java,InitAuthSDKHelper.java,
UserLoginCallback.java
In the AuthConstants.java file add SDK keys and SDK_SECRET
// TODO Change it to your APP Key
public final static String SDK_KEY = "{SDK_KEY}";

// TODO Change it to your APP Secret
public final static String SDK_SECRET = "{SDK_SECRET}";
Now extend MainActivity with following
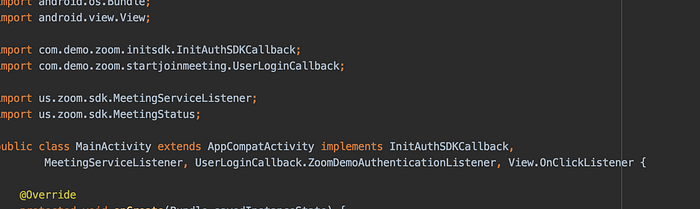
Next, We need to implement the overridden methods
Now inside OnCreate get and Instance of ZoomSDK
mZoomSDK = ZoomSDK.getInstance();Now initialise the SDK
InitAuthSDKHelper.getInstance().initSDK(this, this);Next We Check whether the SDK has been initialised
if (mZoomSDK.isInitialized()) {Inside this If block add below code base for adding meeting listener so that zoom meeting can be joined also setup the video quality
ZoomSDK.getInstance().getMeetingService().addListener(this);
ZoomSDK.getInstance().getMeetingSettingsHelper().enable720p(true);
In the overridden onZoomSDKInitializeResult method add below codes
if (errorCode != ZoomError.ZOOM_ERROR_SUCCESS) {
    Toast.makeText(this, "Failed to initialize Zoom SDK. Error: " + errorCode + ", internalErrorCode=" + internalErrorCode, Toast.LENGTH_LONG).show();
} else {
    ZoomSDK.getInstance().getMeetingSettingsHelper().enable720p(true);
    ZoomSDK.getInstance().getMeetingSettingsHelper().enableShowMyMeetingElapseTime(true);
    ZoomSDK.getInstance().getMeetingSettingsHelper().setVideoOnWhenMyShare(true);
    ZoomSDK.getInstance().getMeetingService().addListener(this);
    Toast.makeText(this, "Initialize Zoom SDK successfully.", Toast.LENGTH_LONG).show();
    if (mZoomSDK.tryAutoLoginZoom() == ZoomApiError.ZOOM_API_ERROR_SUCCESS) {
        UserLoginCallback.getInstance().addListener(this);
        //showProgressPanel(true);
    } else {
        //showProgressPanel(false);
    }
}
Above this will be an callback listener when zoom sdk got initialised
Now We need to create an UI Here We shall Create an editable textbox for entering meeting id and userName for entering username and button.Clicking on the button
<LinearLayout
    android:id="@+id/layout_join"
    android:layout_width="match_parent"
    android:layout_height="wrap_content"
    android:gravity="center_horizontal"
    android:orientation="vertical"
    android:paddingHorizontal="40dp"
    app:layout_constraintEnd_toEndOf="parent"
    app:layout_constraintStart_toStartOf="parent"
    tools:layout_editor_absoluteY="256dp">

    <EditText
        android:id="@+id/edit_join_number"
        android:layout_width="wrap_content"
        android:layout_height="wrap_content"
        android:hint="Input Meeting number"
        android:inputType="number"
        android:minWidth="150dp" />

    <EditText
        android:id="@+id/edit_join_name"
        android:layout_width="wrap_content"
        android:layout_height="wrap_content"
        android:hint="Input user name"
        android:minWidth="150dp" />

    <Button
        android:layout_width="wrap_content"
        android:layout_height="wrap_content"
        android:minWidth="150dp"
        android:onClick="onClickJoin"
        android:text="Join Meeting" />


</LinearLayout>
Add OnClickJoin method in MainActivity
public void onClickJoin(View view) {
    if(!mZoomSDK.isInitialized())
    {
        Toast.makeText(this,"Init SDK First",Toast.LENGTH_SHORT).show();
        InitAuthSDKHelper.getInstance().initSDK(this, this);
        return;
    }

    if (ZoomSDK.getInstance().getMeetingSettingsHelper().isCustomizedMeetingUIEnabled()) {
        ZoomSDK.getInstance().getSmsService().enableZoomAuthRealNameMeetingUIShown(false);
    } else {
        ZoomSDK.getInstance().getSmsService().enableZoomAuthRealNameMeetingUIShown(true);
    }
    String number = numberEdit.getText().toString();
    String name = nameEdit.getText().toString();

    JoinMeetingParams params = new JoinMeetingParams();
    params.meetingNo = number;
    params.displayName = name;
    ZoomSDK.getInstance().getMeetingService().joinMeetingWithParams(this, params);
}
In the lifecycle onDestroy add below code for resetting and destroying the instance
@Override
protected void onDestroy() {
    super.onDestroy();
    UserLoginCallback.getInstance().removeListener(this);

    if(null!= ZoomSDK.getInstance().getMeetingService())
    {
        ZoomSDK.getInstance().getMeetingService().removeListener(this);
    }
    InitAuthSDKHelper.getInstance().reset();
}
Now its time for running the App.
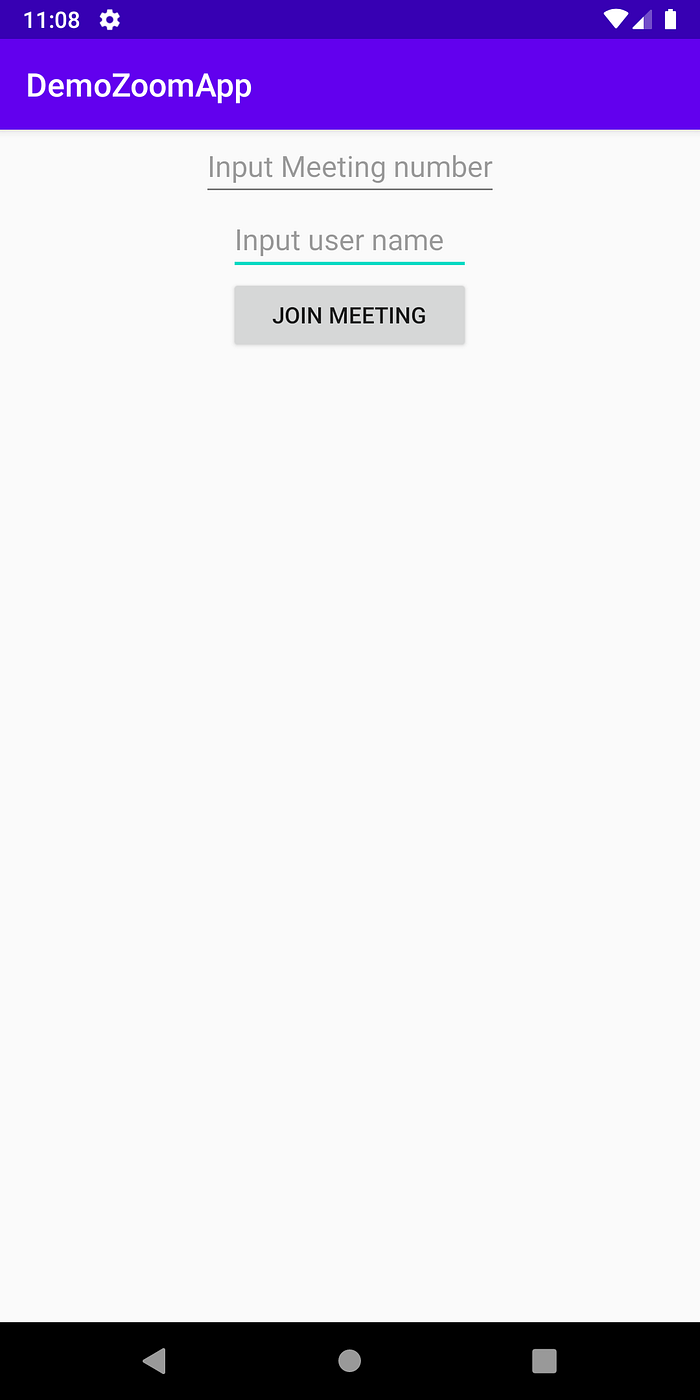
Now go to Zoom site and Create an Zoom meeting id with passcode and add this in this UI.
After entering the meeting id and username in App it will popup for passcode
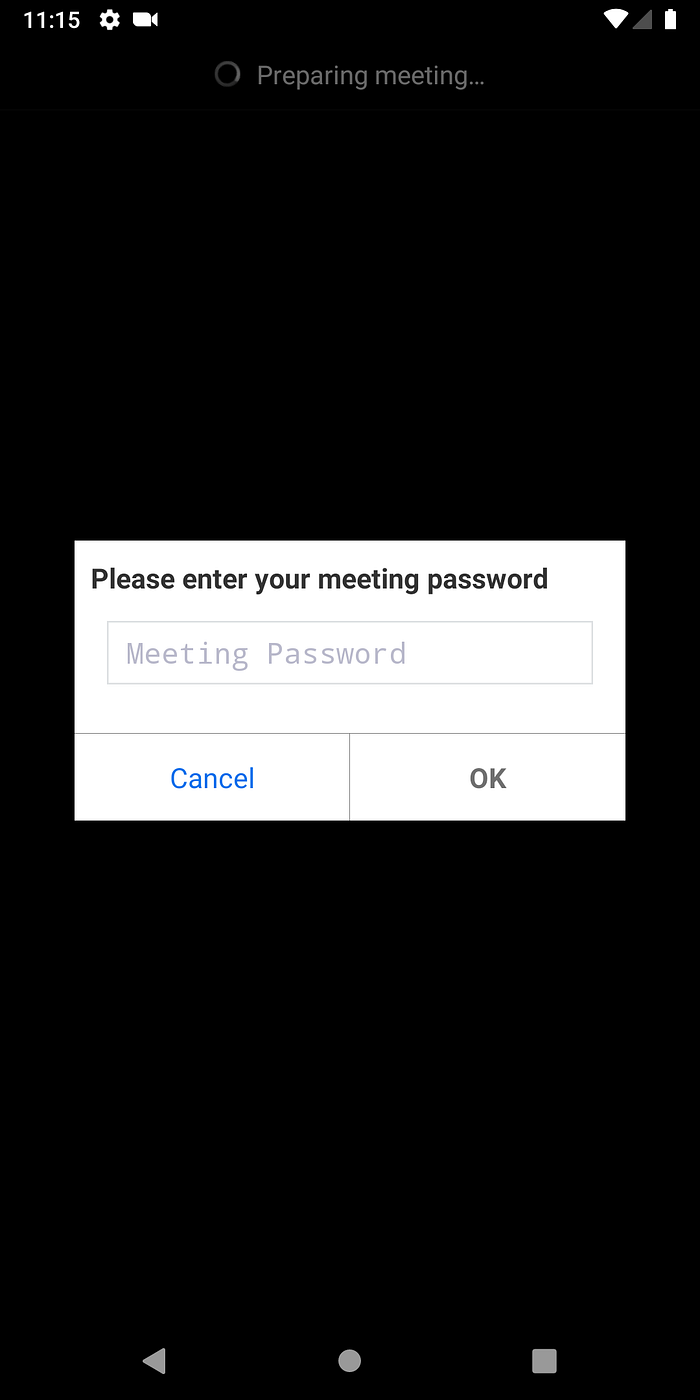
After entering passcode the meeting will be started We can test with a browser and App.
Additionally there are multiple functionality available which can be found in their API doc.
https://marketplace.zoom.us/docs/api-reference/introduction
git hub link
Thanks!